Image Resizer: The Ultimate Guide to Perfectly Sized Photos for Web & Social Media
In the digital landscape, a one-size-fits-all approach to images simply doesn’t work. The massive 4000×3000 pixel photo from your DSLR camera is perfect for a printed canvas but is a nightmare for your website’s loading speed. Conversely, a tiny 500×500 pixel avatar will look pixelated and unprofessional when stretched to cover a website banner.
This is where the essential skill of image resizing comes into play. An image resizer is a fundamental tool for anyone who manages a website, creates social media content, or works with digital photos. This guide will explain what image resizing is, why it’s different from cropping, its critical importance for web performance, and how you can use a free photo resizer to streamline your workflow.
Table of Contents
What is Image Resizing? It’s More Than Just Making Things Smaller
At its core, image resizing (or image scaling) is the process of changing the dimensions of a digital image. This is measured in pixels (px). When you resize an image, you alter its width and height, which directly impacts its file size and resolution.
The process involves complex algorithms (called interpolation) that determine how to add or remove pixels to achieve the new size. Common algorithms include:
- Nearest Neighbor: Basic and fast, can create jagged edges.
- Bilinear: Smoother than nearest neighbor, a good middle ground.
- Bicubic: The most common and often highest quality for photographic images, providing smoother gradients.
Key Terminology: Understanding the LSI Language
- Pixels (px): The tiny dots of color that make up a digital image. An image that is 800 pixels wide and 600 pixels tall has a resolution of 800x600px.
- Aspect Ratio: The proportional relationship between an image’s width and height. It’s expressed as a ratio like 4:3 or 16:9. Maintaining the aspect ratio prevents your images from looking stretched or squashed.
- Resolution: Often used interchangeably with dimensions (e.g., 1920×1080 resolution). Higher resolution means more pixels and typically more detail.
- Dimensions: The specific width and height of an image in pixels.
- File Size: The amount of storage space an image file consumes (e.g., 250 KB). Resizing is a primary way to reduce file size.
- Resampling: The technical process of changing the number of pixels in an image when resizing.
Resizing vs. Cropping: What’s the Difference?
This is a crucial distinction that many beginners miss.
- Resizing changes the size of the entire image canvas, scaling all content proportionally. The content itself remains intact.
- Cropping cuts away parts of the image to change its composition or aspect ratio. It removes content to focus on a specific area.
Think of it like this:
- Resizing is like moving a framed picture to a larger or smaller wall. The picture and its frame are scaled together.
- Cropping is like using a matte to hide parts of the picture within the same frame. You’re choosing what to show and what to hide.
Many advanced image resizer tools, including the one at FreeToolsMax, offer the ability to both resize and crop, giving you complete control over your final image dimensions.
Why Using an Image Resizer is Non-Negotiable for Your Online Presence
Failing to properly resize images for their specific purpose has tangible negative consequences. Here’s why it’s so critical:
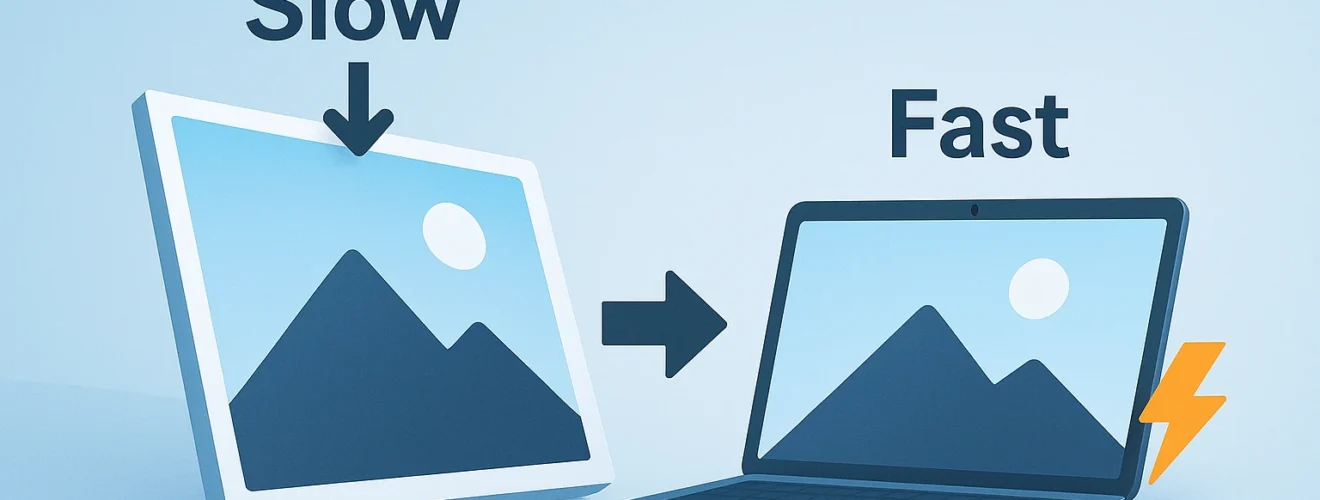
1. Optimizes Website Loading Speed and Performance
This is the single most important reason. Large, high-resolution images are the biggest contributors to slow page load times. By resizing an image to the exact dimensions needed for your website (e.g., a banner at 1200px wide, a thumbnail at 300px wide), you dramatically reduce its file size. Smaller files transfer from your server to a user’s browser much faster, leading to a near-instantaneous loading experience.
2. Enhances User Experience (UX) and Reduces Bounce Rates
Internet users are impatient. A delay of just a few seconds in loading time can significantly increase your bounce rate (the percentage of visitors who leave after viewing only one page). A fast, smooth-loading website keeps users engaged, improves satisfaction, and encourages them to explore more of your content.
3. Boosts Search Engine Optimization (SEO)
Google and other search engines explicitly use page speed as a ranking factor. A faster website provides a better user experience, which search engines reward with higher visibility in search results. Furthermore, properly sized images that load quickly on mobile devices contribute to your mobile-friendliness score, another critical SEO metric. Using an image size converter is a direct and effective SEO tactic.
4. Ensures Professionalism and Consistency Across Platforms
Every social media platform has its own ideal image dimensions for profiles, covers, and posts. Uploading an image that is the wrong size can lead to awkward cropping, pixelation, or important elements being cut off.
- Instagram posts work best as squares (1:1 ratio) or vertical (4:5).
- Facebook cover photos have a specific wide aspect ratio.
- Pinterest pins are typically tall and vertical.
A photo resizer allows you to adapt one original image to fit all these different requirements perfectly, maintaining a professional and consistent brand image everywhere.
5. Saves Crucial Storage Space and Bandwidth
Resized images consume less space on your web server and less bandwidth when being viewed. This can lower your hosting costs and make your website cheaper and faster for visitors on limited mobile data plans.
Best Practices for Resizing Images Like a Pro
To get the best results, follow these expert guidelines:
- Resize Before You Upload: Never upload a full-size image to your website and then use HTML or CSS to display it smaller. The browser still has to load the massive original file. Always resize the image itself to the exact display dimensions before uploading it.
- Maintain Aspect Ratio: Always keep the aspect ratio locked when resizing unless you intentionally want a distorted effect. This ensures your subjects don’t appear stretched or squashed.
- Start with High Quality: Always begin with the highest quality, largest image you have. It’s easier to downsize an image and maintain quality than it is to enlarge a small image (which causes pixelation).
- Know Your Dimensions: Have a clear idea of the required dimensions for your target platform (website container, social media post, etc.) before you start.
- Consider the Format: After resizing, you can often compress the image further. Save photographs as JPEG and graphics with text or transparency as PNG. For the best performance, consider modern formats like WebP.
- Use Batch Processing: If you have many images to resize (e.g., a product catalog), use a tool that supports batch image resizing to save an enormous amount of time.
How to Use an Online Image Resizer: A Simple Walkthrough
Using a free online tool like the FreeToolsMax Image Resizer is incredibly straightforward. Here’s how you can do it in seconds:
- Find the Tool: Navigate to our powerful and free Image Resizer tool.
- Upload Your Image: Click the “Upload” button and select the image file you want to modify from your computer. Many tools support multiple files at once.
- Set Your New Dimensions: Enter your desired width and/or height in pixels. The tool will typically automatically calculate the other dimension to maintain the aspect ratio.
- Choose Your Options (Advanced): Some tools allow you to choose a resampling algorithm or give you the option to crop to exact dimensions.
- Resize: Click the “Resize,” “Apply,” or “Start” button. The tool will process the image using its algorithms.
- Preview and Download: You will be shown a preview of your newly resized image. If you are happy with the result, simply click “Download” to save the perfectly sized image to your device.
For those looking to not just resize but also optimize their images, combining this tool with our powerful Image Compressor is the ultimate workflow for achieving lightning-fast website speeds.
Conclusion: Resize for Success
Mastering image resizing is not a minor technical detail—it is a fundamental requirement for anyone who is serious about their online presence. It directly impacts your website’s speed, your search engine rankings, your brand’s professionalism, and ultimately, your user’s satisfaction.
The barriers to doing this correctly are gone. You no longer need expensive software like Photoshop. With free, intuitive, and powerful online tools like the Image Resizer from FreeToolsMax, you can ensure every image you publish is perfectly tailored for its purpose.
Stop letting incorrectly sized images slow you down and harm your brand perception. Take control of your digital media, ensure a flawless user experience, and give your SEO a boost.
Resize your images to perfection now with our free and easy-to-use tool!